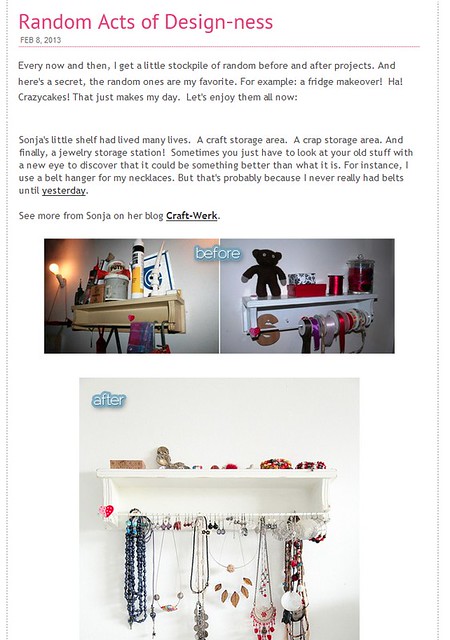
Something terrible had to happen for me to finally get down to the business of tidying up and organising some of the worst hot-spots for my mess. And most fittingly it did so on the second day of spring (in Ireland), on Saturday. I had to tidy up my messy desk, and as I was already at it, I went straight on into my bedroom to finally tackle the mess on my dresser. I had been meaning to do that for a good while, and now I can finally show off my latest re-purpose: a really handy and easy-on-the-eye jewellery organiser:
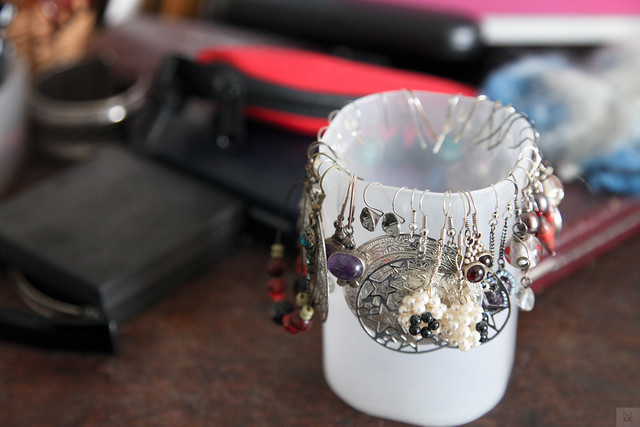
I love costume jewellery, particularly earrings. Lately I had acquired so many of them that my previous way of holding them was proving ineffecient. I had them hooked over a plastic cup.
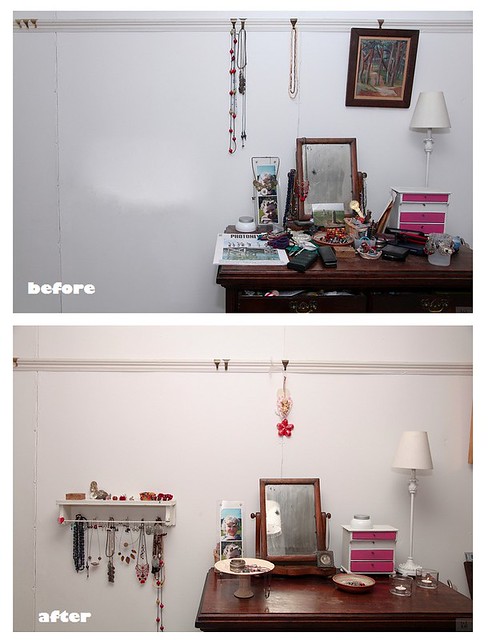
Moreover, my dresser in the bedroom was becoming a dumping ground for all sorts of crap. That, in turn, didn't make dusting any easier, and so the dresser and the bits and bobs were finally vanishing under an ever thickening layer of dust... Something needed to be done. And while I was tidying up the study, I realised that my shelf-gone-ribbon organiser had lost its function and would make a much better jewellery display than a ribbon organiser. Here's a little before-and-after of my ribbon shelf (you can read about it
here)
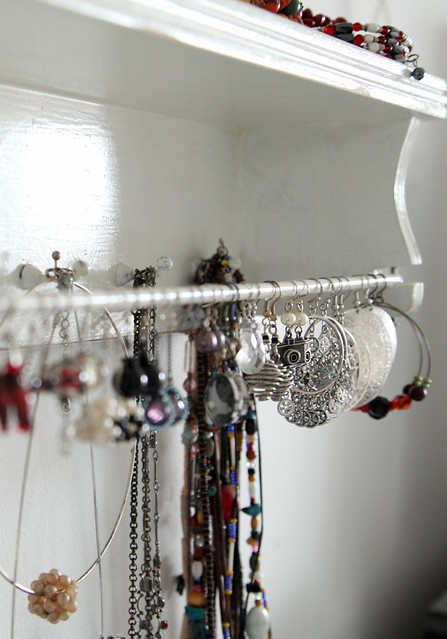
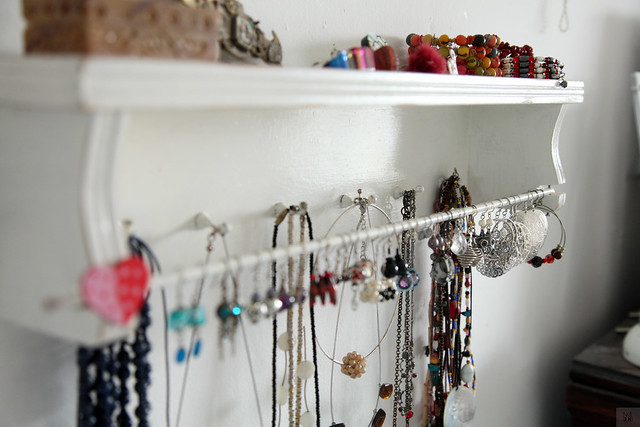
I realised the former towel/ribbon holding bar was ideal for hooking earrings over; and the hooks were great for hanging my collection of
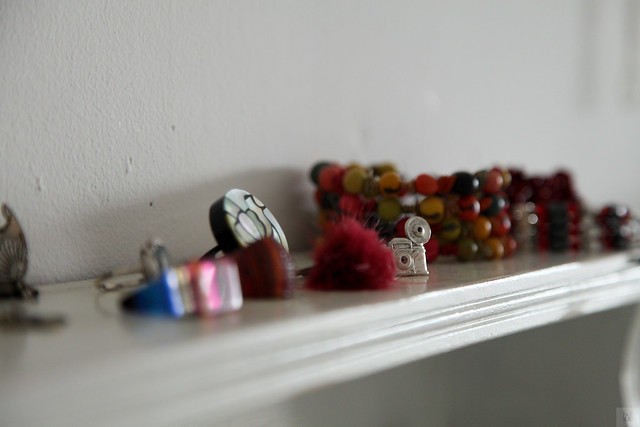
hardly ever worn necklaces. Plus, the shelf could hold trinkets, rings and bracelets.
I moved the shelf to the bedroom and then arranged all the crown jewels on it. It works absolutely fab - the earrings are in reach and can easily be chosen; the necklaces are behind where I don't need to get at them that often. And rings and bracelets plus stud earrings are on the shelf.
It looks quite well, too, doesn't it? I got all excited about the little thing and took lots of pictures, playing with the dof of it and all...
If you want to recreate that but haven't got a ready-made shelf like this, I am sure it would be easy enough to copy. In fact, I had to put in the little holding rod myself, when I gave the shelf the initial make-over. It is merely a piece of doweling. Just make sure it is not too thick to hook your earrings over.
For posterity, here is a before/after of the whole dresser. Now, that looks better, now, doesn't it?
Best,
 PS: Linking to Monday Fun Day Link Party @ Creatively Living