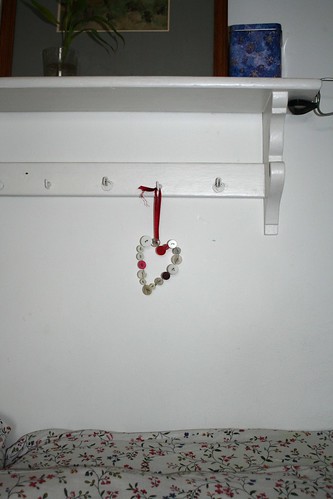
Here is something I wanted to post even tough I did not make this myself. On the way to take a look at Dublin Castle the other day, I walked through a little lane parallel to Dame St.
And this caught my eye:
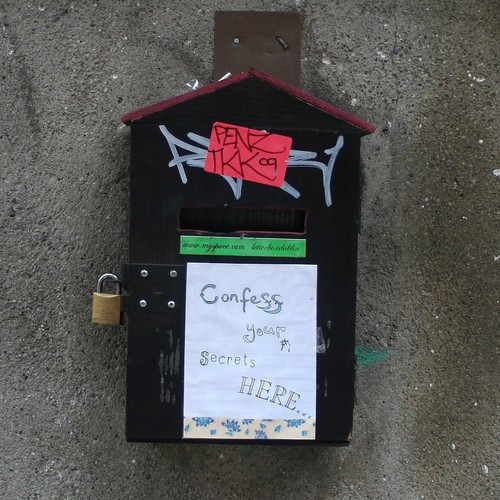 What a cool idea. Do people use it? What kind of confessions are thrown in? And what happens with them? Who empties it?
It's a street art project by a young artist. She has a myspace page http://www.myspace.com/letterboxdublin where she posts the theme of the month. She invites participation from anyone...
Intriguing...
 Christmas is only 6 months away *eeek*. So let's think about some crafty projects for the next Yuletide season.
Here is a beautiful Christmas decoration that looks gorgeous and very complicated but is very easy to make. Plus - it also costs next to nothing.
All you need to make it is A4 size paper, glue and staples.
First of all you need to cut 6 sheets of A4 paper into square 21x21cm.
Fold over the square into a triangle and cut 3 lines with your scissors, each about 1 - 1,5 cm wide, paralllel to the short side of the triangle. The cuts should not meet at the end; there needs to be an (imaginary) 1 - 1,5 cm wide strip going down from the point of the triangle to the long side. Look at this pic: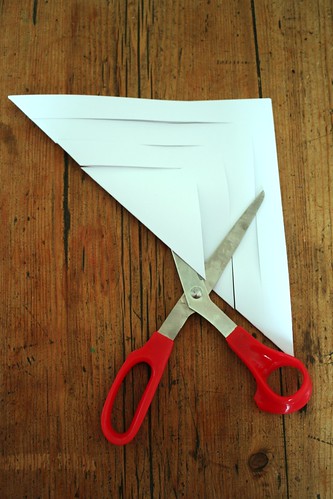 When you fold open, the piece of paper should look like this:
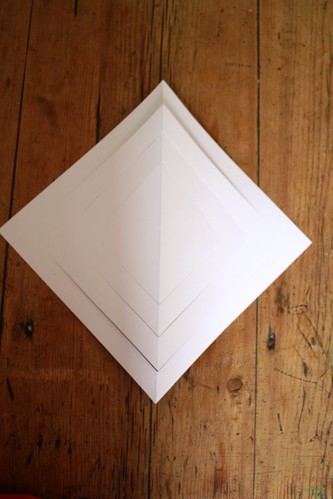 Now you bend the cut-out strips over and glue the tips together. (If you are using card board, you probably have to staple them together, otherwise they will not stick.) You have to alternate beding them over to both sides. Difficult to explain in words, so take a good look at the next pic - it is pretty self-explanatory. I paste it in here in bigger format, so you can see properly:
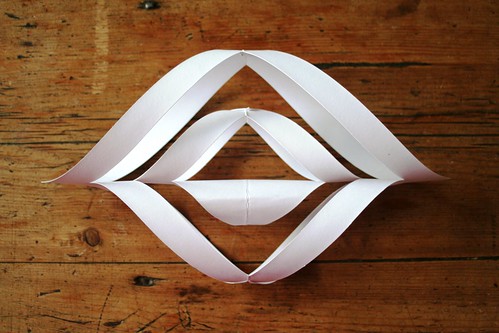 The last step is fastening 6 of these individual pieces together. Just place them in a line next to each other and then use a normal stapler to fix them together. Laying them onto a flat surface, form them into a circle and fix the end-pieces together. Staple the top bits in the middle together or pull a bit of thread through the tops to secure them together. And finally just out a bit of thread through one of the star's tips to hang it from.
Looks gorgeous in the window!